 |
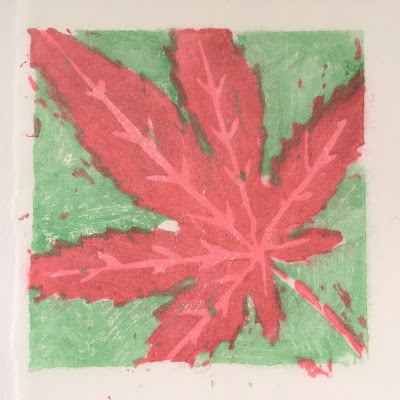
| my first ever Japanese woodblock print - scope for plenty of improvement! © Teresa Newham |
As usual, Christmas took up most of my attention during December; so it was good to set aside a couple of afternoons in early January to finish cutting the blocks for my first ever Japanese woodblock print, listening to various podcasts and jotting down a few notes as I went along.
 |
| a cosy afternoon cutting the rest of the blocks © Teresa Newham |
The thought of actually printing the blocks, however, was completely out of my comfort zone. I re-visited Laura Boswell's book and YouTube videos on the process, and carefully laid out everything I thought I'd need in what I told myself was a suitably Zen state of mind, but really it was displacement activity.
 |
| gathering everything I needed to print © Teresa Newham |
I made up a damp pack the evening beforehand; the proofing and editioning papers are wetted with a water brush and left in damp newspaper or blotting paper overnight to absorb the right amount of moisture. Usually proofing and editioning are done in separate print sessions, but as this was an experiment I was keen to go through the whole process in one go.
 |
| first steps: mixing nori, watercolours and making trash prints © Teresa Newham |
On the big day I mixed up some watercolours in pots, and diluted some ready-made nori (rice flour paste), which is combined with the watercolour on the block to turn the paint into a print medium. I used Quinacridone Red and Cobalt Green (Yellow shade), and made a second, darker quantity of the red by adding a tiny amount of Sumi ink.
 |
| colourful blocks and a trash print to check registration © Teresa Newham |
 |
| printing proof prints and edition prints - the damp pack is inside the John Lewis bag © Teresa Newham |
 |
| final prints on three different washi papers from the Awagami factory © Teresa Newham |
Exciting! New technique, and really promising prints.
ReplyDelete